13.1 安裝 SonarQube Server
Step 1. 下載 SonarQube Server,解壓縮至任意目錄下。

Step 2. 修改conf\sonar.properties設定檔
DB 設定,可依需求選擇 DB 類型
#----- Embedded Database (default)
# H2 embedded database server listening port, defaults to 9092
sonar.embeddedDatabase.port=9092
啟用 Web 介面
# Web context. When set, it must start with forward slash (for example /sonarqube).
# The default value is root context (empty value).
sonar.web.context=/sonar
# TCP port for incoming HTTP connections. Default value is 9000.
sonar.web.port=9000
最大連線數設定
# The maximum number of connections that the server will accept and process at any given time.
# When this number has been reached, the server will not accept any more connections until
# the number of connections falls below this value. The operating system may still accept connections
# based on the sonar.web.connections.acceptCount property. The default value is 50.
sonar.web.http.maxThreads=50
Log 檔路徑
# Path to log files. Can be absolute or relative to installation directory.
# Default is <installation home>/logs
sonar.path.logs=logs
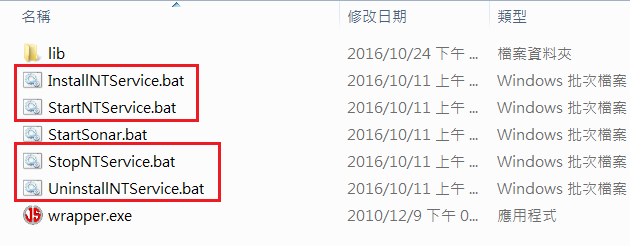
Step 3. [SonarHome]\bin\[OS版本]目錄下有幾個重要檔案,說明於下:
- InstallNTService.bat - 將 SonarQube 註冊為 Windows 系統服務
- UninstallNTService.bat - 解除註冊 SonarQube 服務
- StartNTService.bat - 啟動 SonarQube 服務
- StopNTService.bat - 停止 SonarQube 服務
注意這裡選擇的OS位元版本可能需要與Java安裝位元版本相同(待測試)

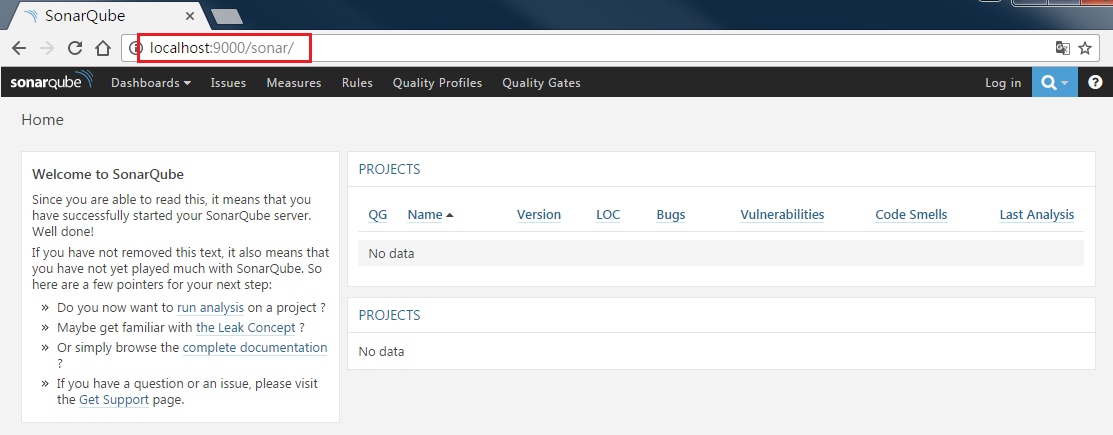
Step 5. 開啟瀏覽器,網址列輸入剛才設定的 Web 介面 url,開啟 Web 管理首頁。

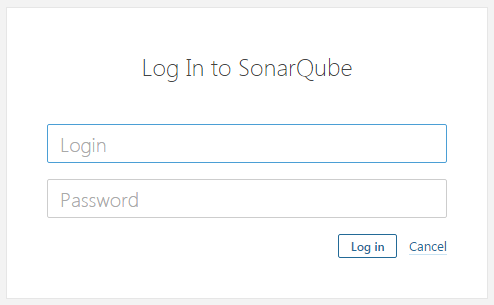
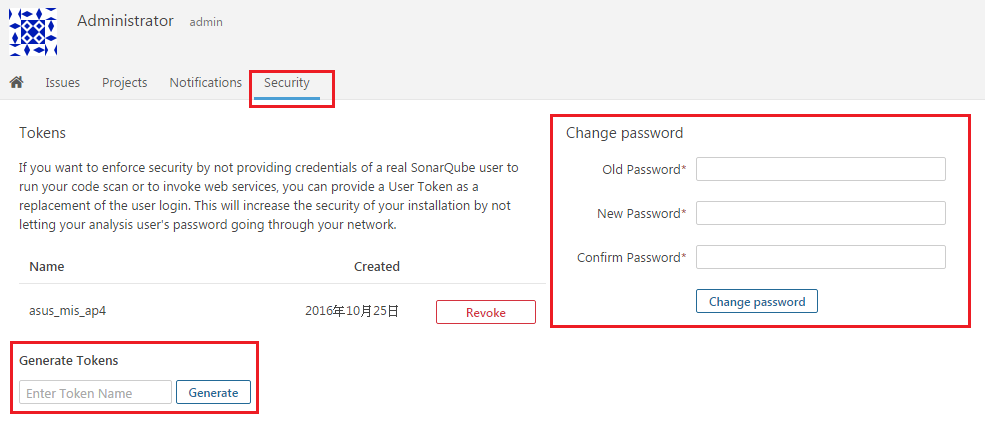
Step 6. 初次登入系統後 (預設管理帳號為 admin/admin),切換到 Administrator -> My Account 以進行密碼變更作業。


